What does YOUR Business need?
View Solutions for Your Business Here!
How can you conduct hazard identification and risk assessment in an effective, efficient, and affordable way? That's the problem we're solving today. Though the resources we'll use go further than identification and assessment, they are pieces within a larger whole, so this approach will serve us best.
We’re going to take a look at:
Also, in case you’re a newbie (NOOB) to all this, I should begin by stating that:
We've said it before, but it bears saying again that hazard identification and risk assessment are everybody's business. We won't labour the point, but it is ESSENTIAL that everyone gets this!
In November last year, we wrote about the challenge of underreporting. We found that the legislation says ANY person (read EVERY person) at the workplace is required to take reasonable care to ensure actions and omissions do not compromise workplace safety. You can read more by following the link.
This does not mean that everyone is equally responsible, but it does mean we're all in this together.
If you're 'conducting a business or undertaking' (a PCBU), then your obligations are more specific, and at times arduous. It also means you need to understand where these processes fit within the larger context of WHS and your operations.
Looking from high altitude, work health and safety laws require you to identify hazards, assess risks, and then eliminate or minimise them as much as possible. At a lower altitude, however, we see that managers, supervisors and leading hands must ensure that:
Hazard identification and risk assessment are parts of your larger risk management strategy. Most workers don’t need to understand the larger picture. That said, we’d suggest that your managers, supervisors, leading hands and other team leaders DO NEED to know and fully understand the broader procedures.
To better appreciate this, we encourage you to access our Risk Management Procedure resource. It's an incredibly efficient tool to empower both you and your team. Easy to read and even easier to implement, this five-page summary of procedures and helpful tools uses hierarchies, tables and explanations to help make a complicated process simple.
You’ve probably heard the “How do you eat an elephant?” question. The answer of “One bite at a time” applies here. This resource breaks down an elephant-like method into bite-size parts, so you can learn and digest it one bite at a time.
In terms of our products, we call the larger comprehensive process 'Hazard Reporting and Risk Management. We've also broken this down into an easy to understand flowchart called The Hazard Reporting and Risk Management Process. At the time of publication, this resource costs just $13.50.
Hazard identification is guided more by principles and good practice than formula. There is no set method, but this is exactly why checklists and protocols are helpful and necessary.
We provide a range of such resources. The more generic Hazard Identification Checklist helps you identify new hazards in almost all environments. More specific application tools include the Plant and Equipment Hazard Checklist, the Office Warehouse Inspection Checklist, and the Manual Handling Hazard Checklist.
Some additional suggestions for effective hazard identification include:
These are significantly expanded within the resources themselves.
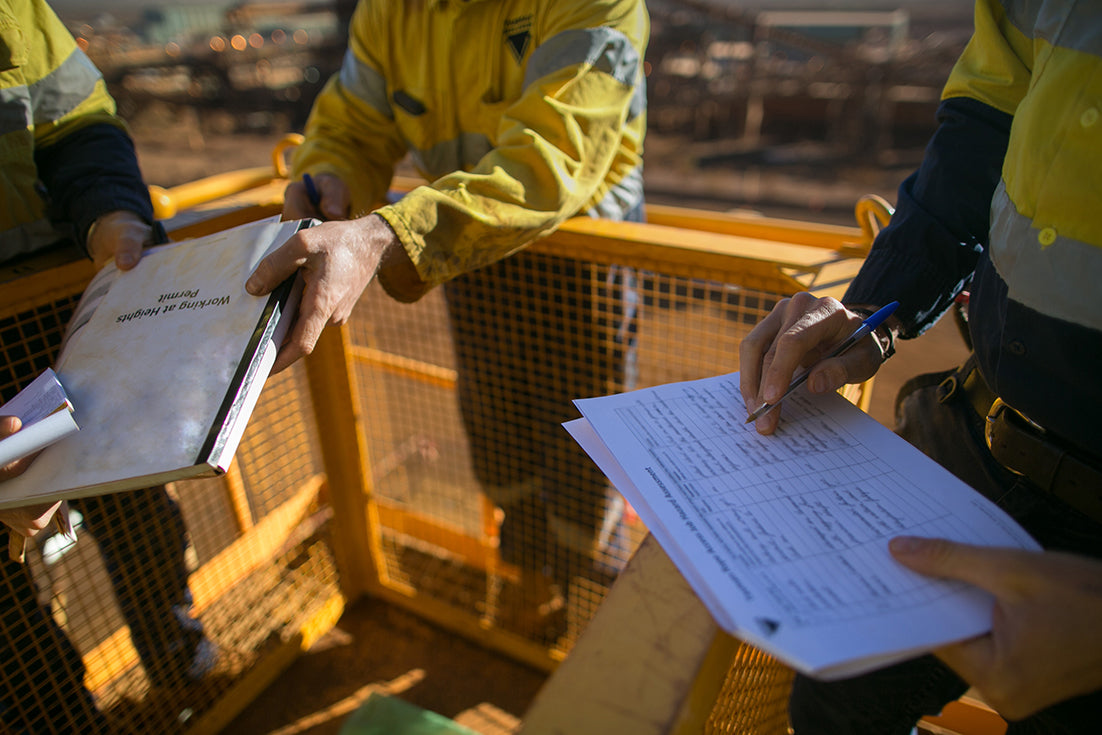
Once identified, the Hazard Report Form is used to record the details about any identified hazards and is designed to ensure essential items are not missed.
After a hazard has been identified, we need to assess the risk. We provide a range of resources to assist in this process; our staple and most popular resource (of this type) is the Risk Assessment Worksheet. It enables the risk posed by an identified hazard to be comprehensively assessed. Coupled with the Risk Treatment Plan, options for managing the risk can then be decided upon.
An effective risk assessment involves deciding what might happen (the consequence) and the likelihood of that happening. For example, most people who have asked someone out on a date have done this type of assessment. They've asked themselves, "What's the likelihood they'll say 'No?" and "How badly will it go if they do?"
Suppose the likelihood of rejection is high and the public shaming is threatening. In that case, we might classify it as a high-risk activity. Alternatively, if the risk is high, but you're okay with the rejection, it's a less risky activity.
Risk assessment is not complicated, but using the tables as provided in our resources makes the process even easier.
Have you ever dared to buck with fashion? Play music that others won't think is cool? Driven past the 'servo' while needing to pee and thought, "Nah. I can make it"? If you have, you've done a risk assessment. Heck, you likely made a quick and unconscious assessment before you started reading this article.
Remember also that hazards do not exist in isolation, and neither should your assessment be made with isolated thinking. For example, overall risk increases:
All of the resources we've referred to can be found on this website. You can review and purchase them individually (by following the links). Alternatively, if you'd prefer a more economical yet comprehensive approach, you could invest in our Risk Management Forms Pack (@ $195). The choice is yours.
As a vehicle for effective hazard identification and risk assessment, it's an excellent investment.
Also, if you were to purchase the items individually, it would require an outlay of $278.50, being:
Total Outlay (purchased individually) = $ 278.50
However, when purchased as a bundle, the price is $195, which is an $80 plus saving on an already efficient, life-saving and affordably priced resource.
We've focused in this article on hazard identification and risk assessment within the perspective of a more extensive risk management process. We've identified ways to do this that are effective, efficient and affordable, and we've identified some resources that can help you make that happen. Just follow the links to learn more and invest in resources.
If you're unsure of anything or prefer to speak to someone, you can request a callback or phone directly on 1800 304 336. We've done this and other topics, by the numbers, for literally thousands of clients. The risk of your call being a disappointment is extremely low, and the consequence, if that happens, is less than minimal. Making that call is a risk worth taking.